My girlfriend came into town this past weekend and we did one of the best things ever, we organized all my makeup in the bathroom. I shared a bit of how we did it on stories but I got SO many requests to share tips, tricks and basically everything a little bit more in depth in a blog post for you guys, so here it is. Between the New Year and the current Marie Kondo craze (which I have yet to watch btw), organization is a hot topic!
Personally, the hardest part for me is starting. I tend to get overwhelmed and end up not really knowing where to start. Anyone else? So, I thought sharing an easy and attainable list of exactly what we did would be helpful and hopefully motivate you to take the plunge! It’s only been a few days and let me tell you, it’s so nice to get ready in the mornings.
Step 1. How to start?
Take everything out of your drawers and make piles:
- LOVE and want to keep/use frequently
- I use this occasionally and want to keep it, but it can live under my cabinet or somewhere other than my very top drawers.
- Purge, old, don’t wear, don’t love etc.
Step 2. Put everything in bags or piles
Once we sorted everything, it really help to put things into clear ziplock bags to get it OFF the counter and out of the way. We separated them out into every step – foundation, bronzer, eyeshadows, lips, mascaras etc. In addition to getting things off the counter and out of the way, it allowed us to see how much we had of each thing. Knowing what you have is definitely a key step in choosing what you use to organize. Ie. if you are a mascara girl, you’ll need to make sure you have enough space in that section, if you’re not as into blush, that one can be a bit smaller and so on.
For hair and skincare, we just put them into piles in our bathtub!
Step 3. Measure
Measure you’re drawers, cabinets, or whatever you will be organizing in. Make a note in your phone and write them all down so when you go to the store, you know what will fit.
Step 4: Shop
We went to The Container Store and Target, but you could really go wherever depending on your budget and timeframe! Homegoods is also usually a great option but can be a bit hit or miss sometimes. It really depends how picky you are about what you want, I knew I wanted to do all clear organizers for my drawers etc.
You guys know I’m typically an online shopper but we wanted to get it all done that day. If you prefer the ease of online shopping I’ve linked up everything we got here! Remember just to read the measurements. There are lots of similar things by the same brands (slightly different measurements etc.) if your measurements are different than mine.

Another tip is to grab one or two extra organizers just incase. You never know if you might end up needing a little more than you think. If you don’t end up needing them, I think it’s much easier to do a return than to buy more after the fact!
Step 5. Start to Organize!
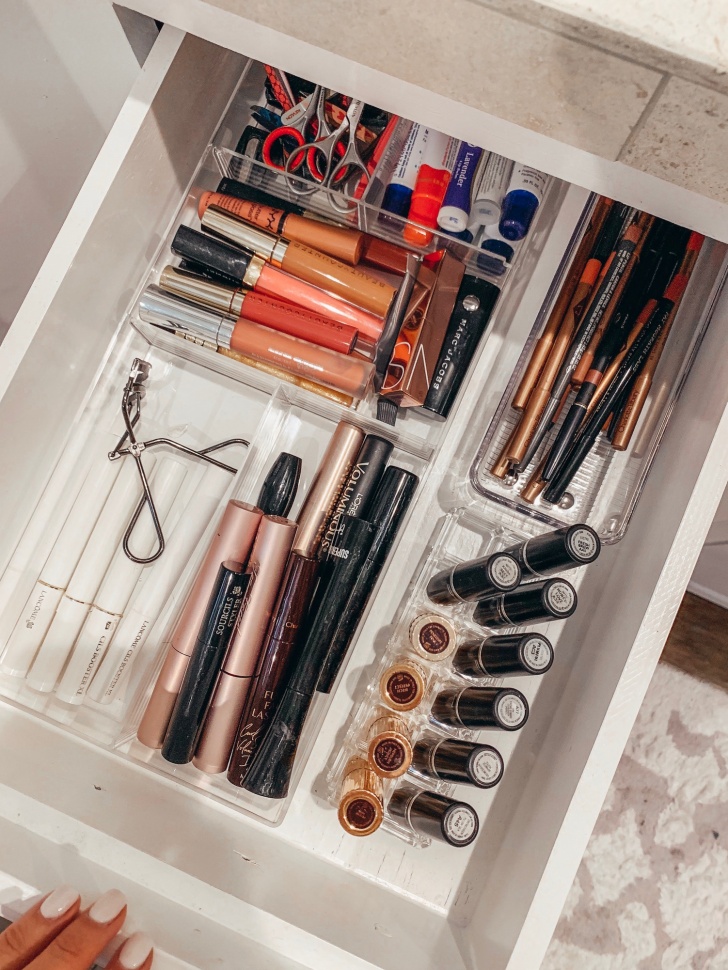
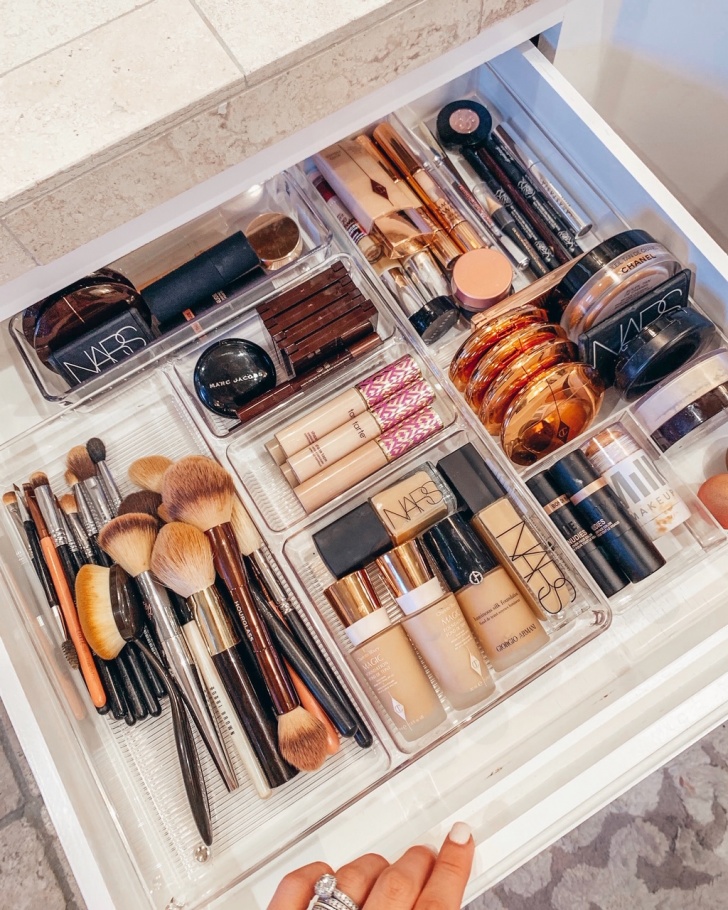
After everything is cleaned out of your drawers, cabinets etc. it’s time to start loading them back up with all the goods. A few tips here: consider what are your most used categories/products and make sure they are easily accessible. Organize things in a way that is clean, pretty and easy to use but also realistic and able to be maintained!
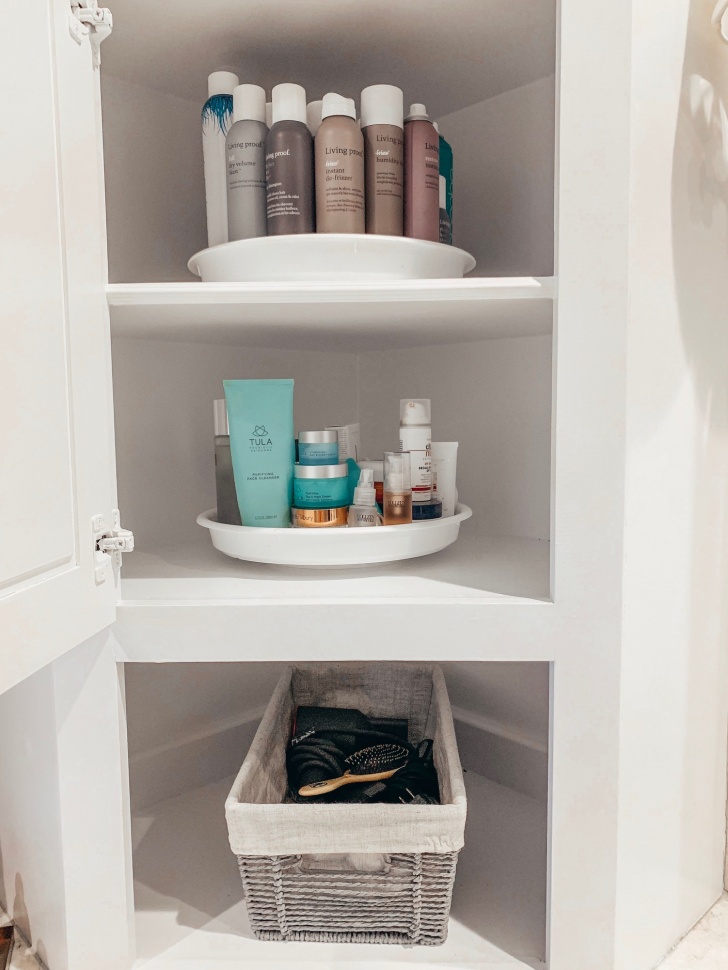
We decided to put all my makeup in the pull-out drawers, most-used skin care in a lazy suzan in the cabinet, most-used hair products on another lazy suzan, everyday hair tools and brush in a basket and everything else that either didn’t fit or wasn’t used as frequently in baskets under the sink!
For the baskets we used dry-erase markers so the if I ever wanted to change what went in each one it would be easy.
Here are a few photos from my bathroom to give you a little motivation and inspiration!