
I’ve been getting a lot of questions about foundation and my routine lately. Questions about how to achieve a flawless base that doesn’t look cake-y, favorite products, application steps, etc. When it comes to achieving what I like to call a “flawless foundation look,” there are three steps I always take. The products may change, but I do these same steps to ensure that my skin will look it’s best and, of course, that the makeup will last all day.
Step 1 // Prime
Let’s start with the basics – What is a primer? Think of a primer as the first step to a flawless foundation routine and the base for the rest of your makeup. Primers can help with a multitude of things: they can help smooth your skin, fill in pores, take away redness, prolong the life of your makeup, add extra hydration, mattify your skin, control oil – the list goes on and on. Basically, whatever your skin may need, there is most likely a primer to help!
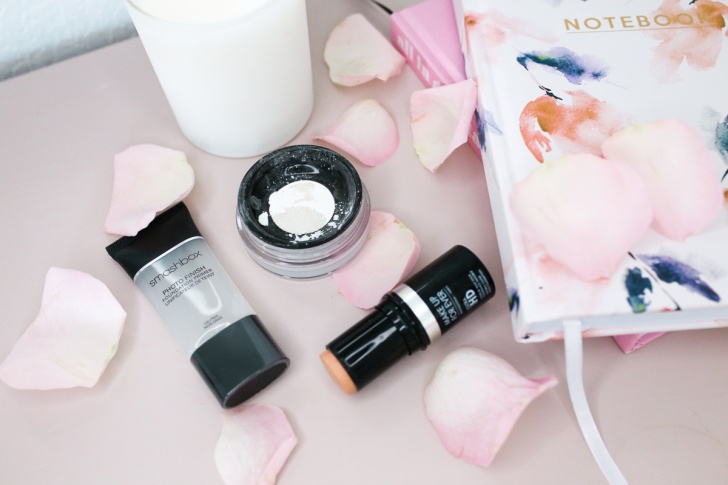
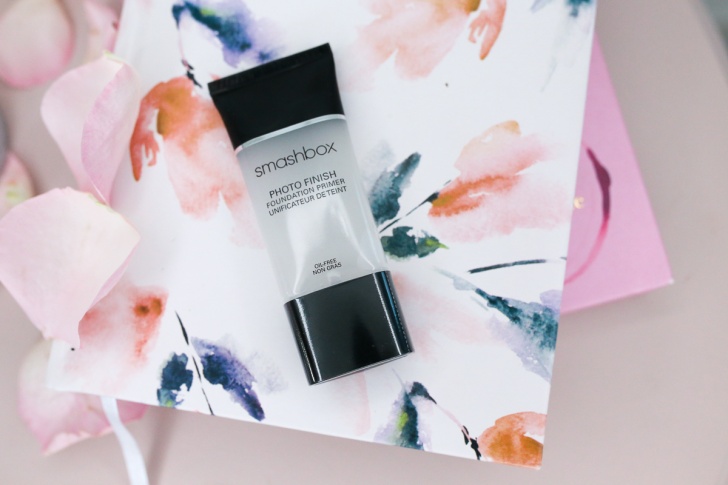
When I want a flawless look, I always start by priming my skin. The Iconic Photo Finish Primer by Smashbox is a cult favorite, and for a good reason. It smooths, blurs, and creates a nice canvas for my foundation, while also helping my makeup stay in place all day.
If you aren’t sure which kind of primer to start with, I recommend this one, because it’s very universal and works for most people!

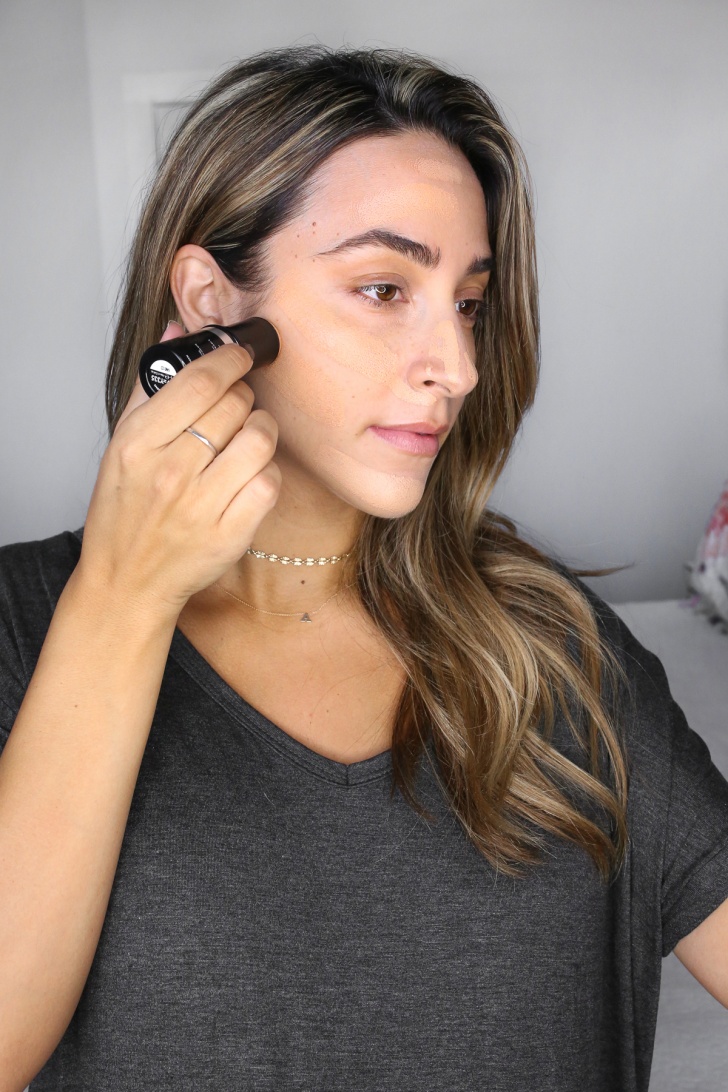
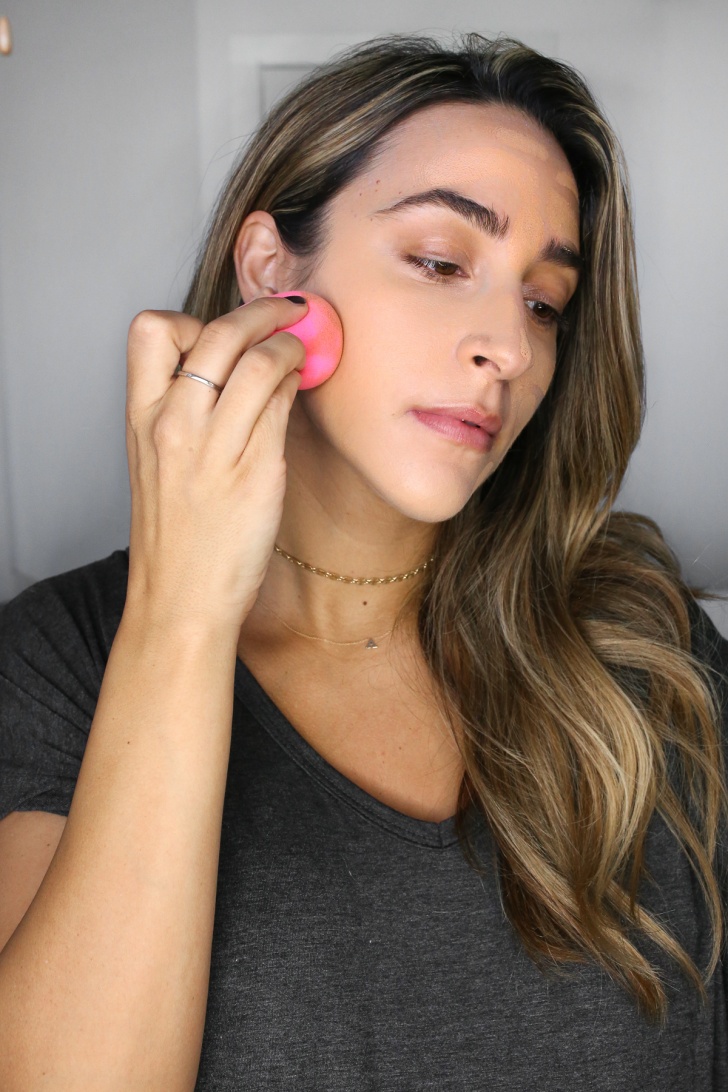
Step 2 // Foundation
Now that your skin is primed, it’s time for foundation. I have a few favorites (planning on sharing a post on my holy grails soon), but lately I’ve been reaching for the Make Up For Ever Ultra HD Foundation Stick. It gives just the right amount of coverage, but still feels super weightless on the skin, which is always a must for me! I also love that it’s in a stick form – super easy and portable. Just swipe, blend, and go! And, bonus, since it’s a HD foundation, it looks beautiful in photos!
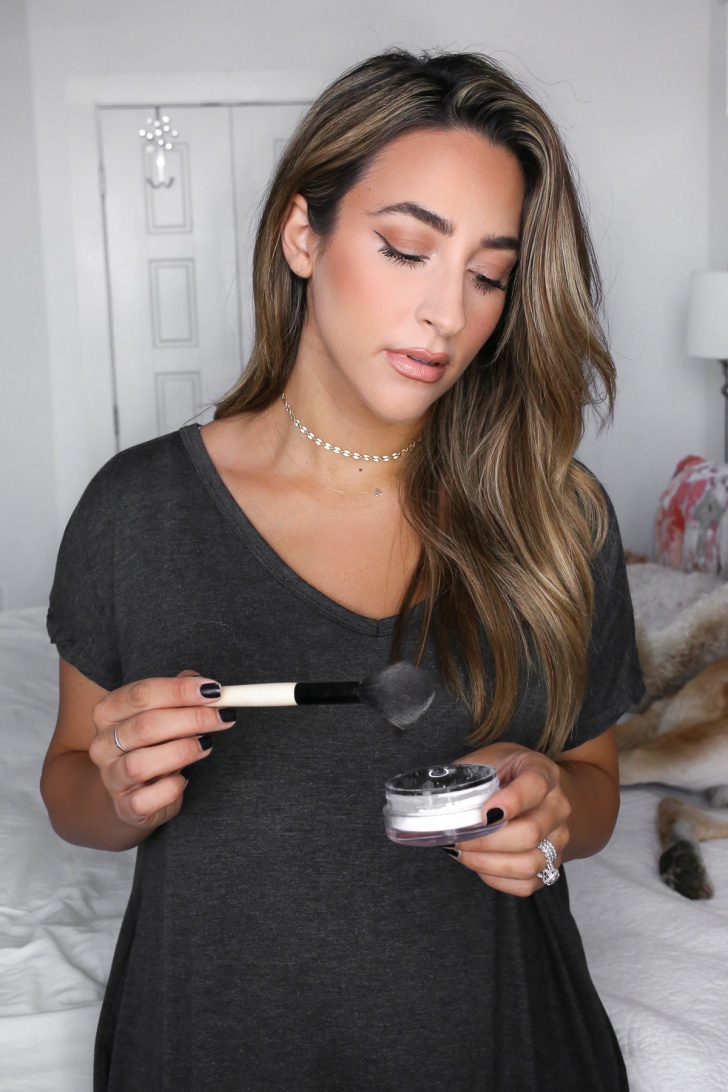
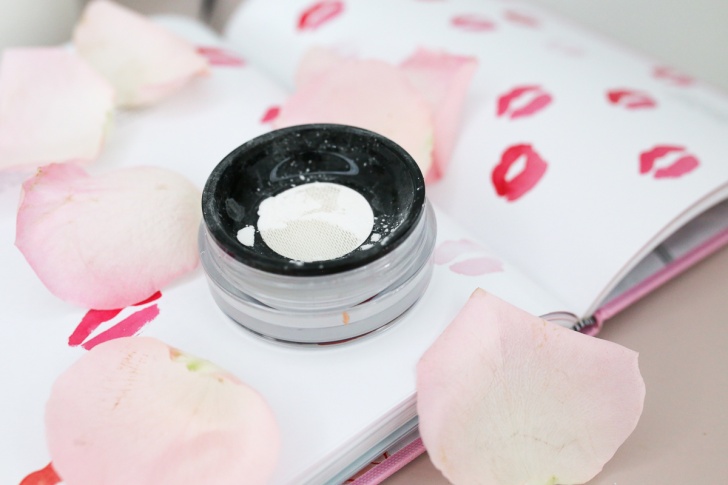
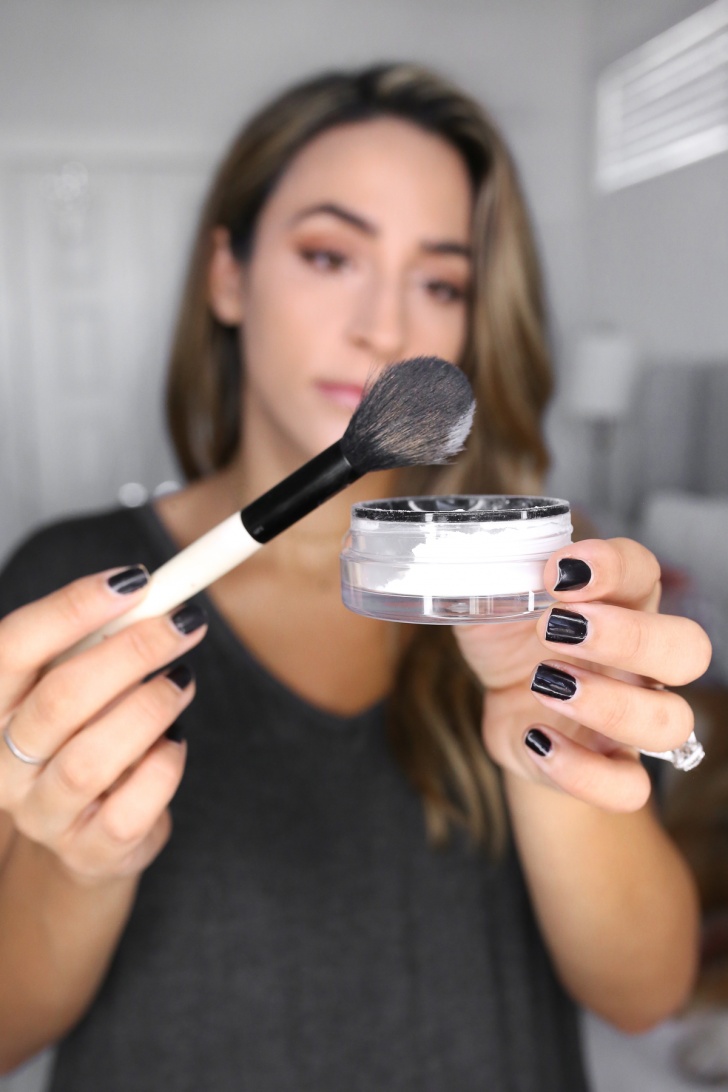
Step 3 // Powder
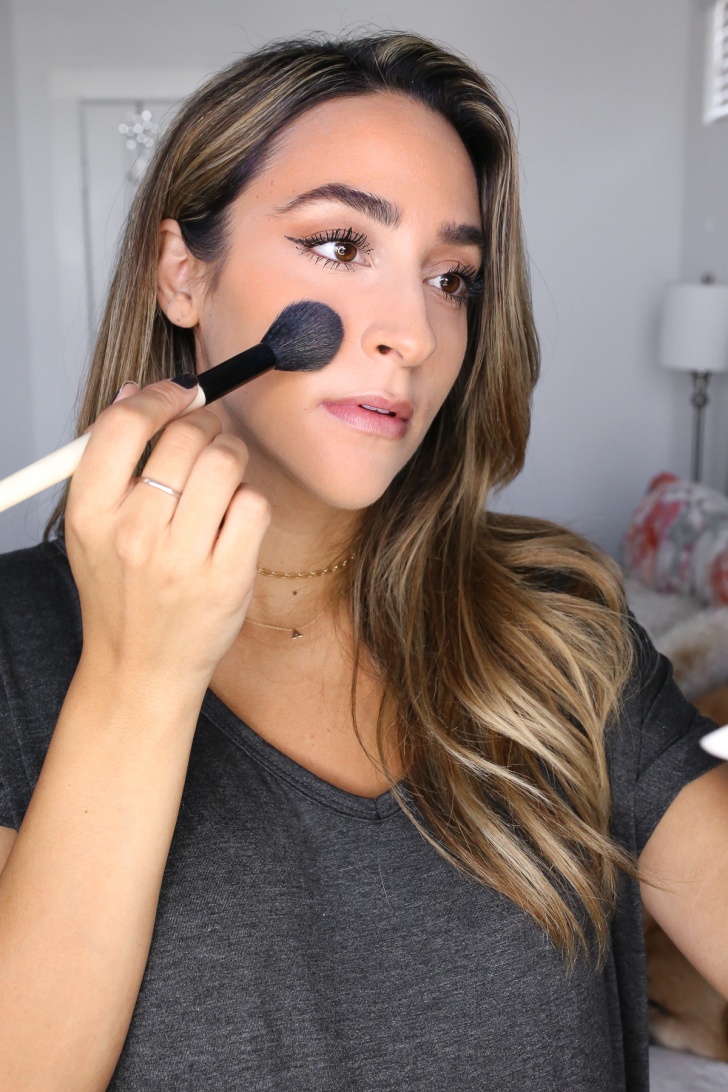
Setting your makeup is a really important step to ensure that it will last all day long. If you have normal to combo and/or oily skin (my skin is very normal btw), a powder is your best friend. Personally, since my skin is normal and not oily, I like to set under my eyes and my t-zone (middle of the forehead, around the nose, and chin) only, while leaving the perimeter of my face alone. Sephora Collection’s Smoothing Translucent Setting Powder gives the skin a nice, smooth, velvety look that I’ve been loving. After you set your makeup, you can, of course, go in with bronzer, blush etc.! If you are on the oily side, I recommend setting your whole face. If you’re on the dry side, I would try setting only your under eyes with a powder and then using a setting spray instead. This one is my favorite, it locks makeup in and won’t leave a powdery finish on dry skin! If it’s a special occasion (wedding, formal event etc.) you can always double down and use both a little bit of powder and a spray! If you do opt for a setting spray instead, do all of your powders first (bronzer, blush etc.) and use the spray last.
BYOB TIP: If you plan on taking a lot of photos, always do a flashback test with a new translucent powder (in combo with your skin) to make sure that it won’t give that white flashback. If you do get a flashback, SPF could also be the culprit!
I snagged all of these favorites at my go-to beauty destination: Sephora. I like to think of it as the grown-up version of a candy store. Alex teases me whenever we get anywhere near a Sephora, he knows it’s like a magnet that just pulls me right in! But really, can you blame me? That’s about the time he accepts his fate…parks, pulls out his phone, and proceeds to play his favorite game at the moment until I return with a smile on my face and a black and white stripe bag in my hand. Now THAT is a keeper ladies.

What are your favorite primers, foundations, and setting powders?
Thank you to Sephora for collaborating with me on this post. All opinions are of course, my own.
SaveSave
SaveSave
SaveSave
SaveSave
