
There are few things I love more than a great brow. Lately, I’ve been getting tons of eyebrow questions from you guys, so I thought it was about time I did a dedicated post all about the girls.
Over the years, I’ve learned that the right shape will flatter your face and do wonders to bring your whole look together! They’re chic, timeless and when done right can give you an effortless feel.
Luckily my days of over plucking are far behind me (oh middle school, how I don’t miss you), and my brows and I are in a longterm committed relationship. In true BYOB fashion, I’ve picked up lots of tips and tricks along the way and I’m here to help you bring out the best in your brows.
1 / The shape
Access the situation.
How do you know what shape is right for you?
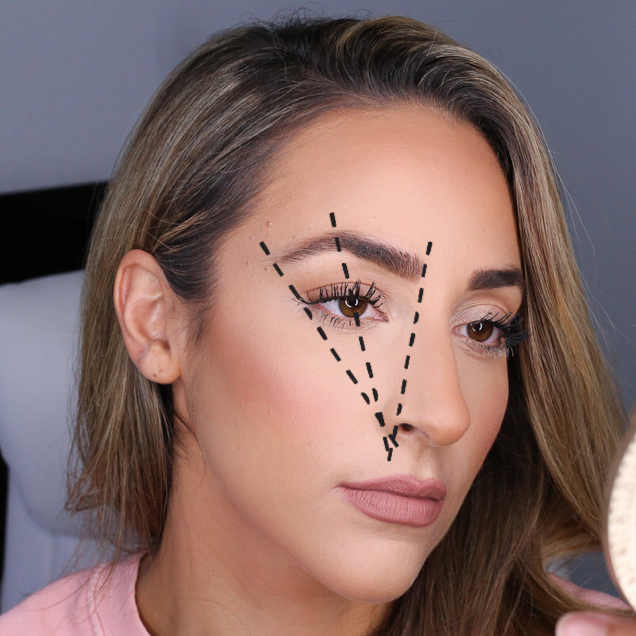
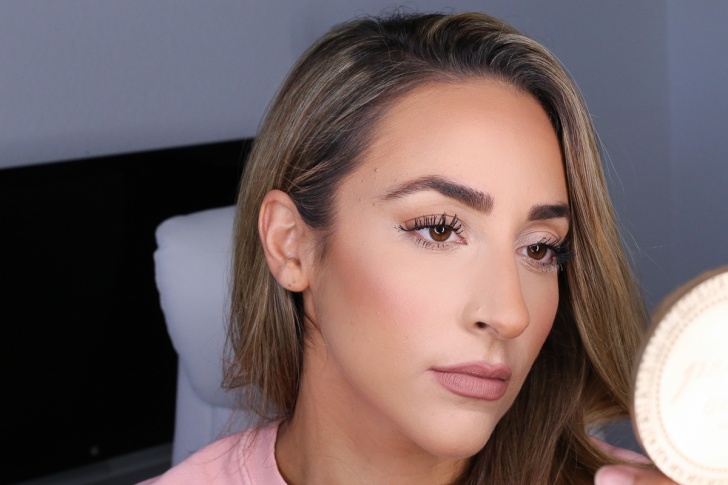
There are three points to consider: The start of the brow, the arch, and where the brow ends. Grab a pencil and use it as your guide! The beginning of the brow should align with the side of your nose. Then, turn the pencil at an angle – start at your nose and go through the center of your eye, that’s where the arch should be. Lastly, start at the bottom of the nose and follow it up past the outside of your eye. That’s where your brow should end. See photo below!
2 / The thickness
This is totally based on preference and what best suits your particular face! When it comes to deciding what will look best on you, I usually think working with what God gave you is key! ie: If you have naturally thick brows, going with something on the thicker side (like me) will be the most flattering. If you have naturally thinner brows, work with those!
3 / DIY
There is something oddly personal about brows. You know what you like and what you’re comfortable with, so sitting down, closing your eyes and putting your fate in the hands of an over caffeinated stranger with hot wax and a stencil? Hard pass. The number of bad experiences I’ve had letting someone else handle my brows…just trust me here! Ditch the salon and do it yourself. I promise, you can do it! Keep reading to find out how.
4 / Maintenance
All you need is a pair of tweezers, some mini scissors and something to brush them with.
- Map your brows out (as shown in step 1).
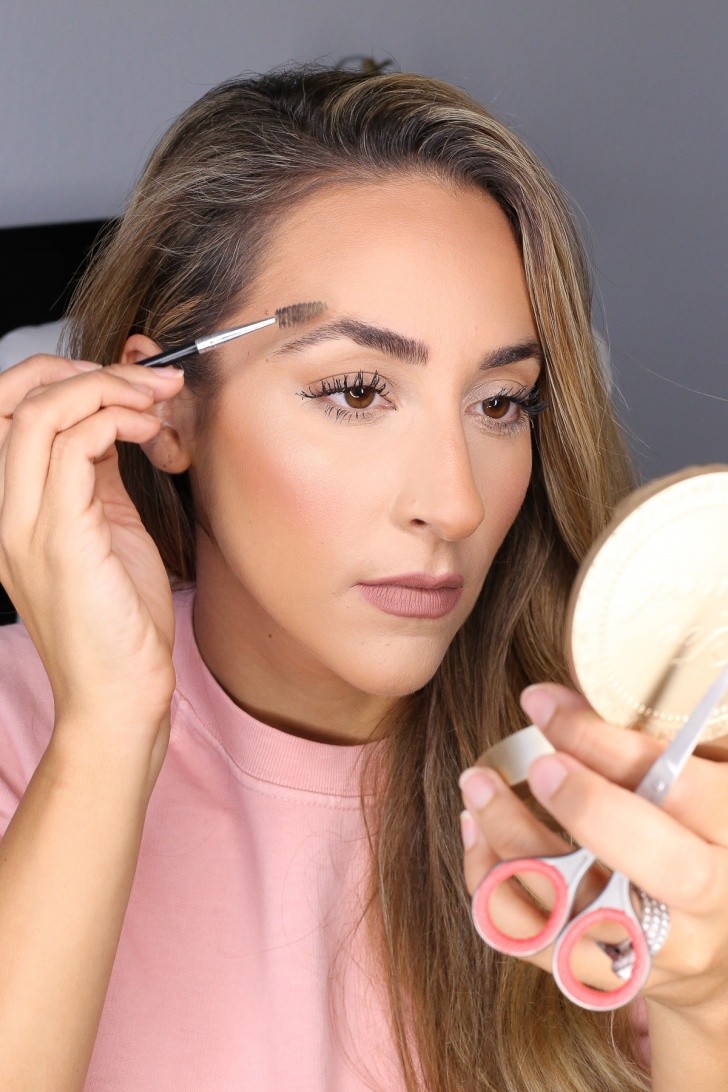
- Brush your brows straight up.
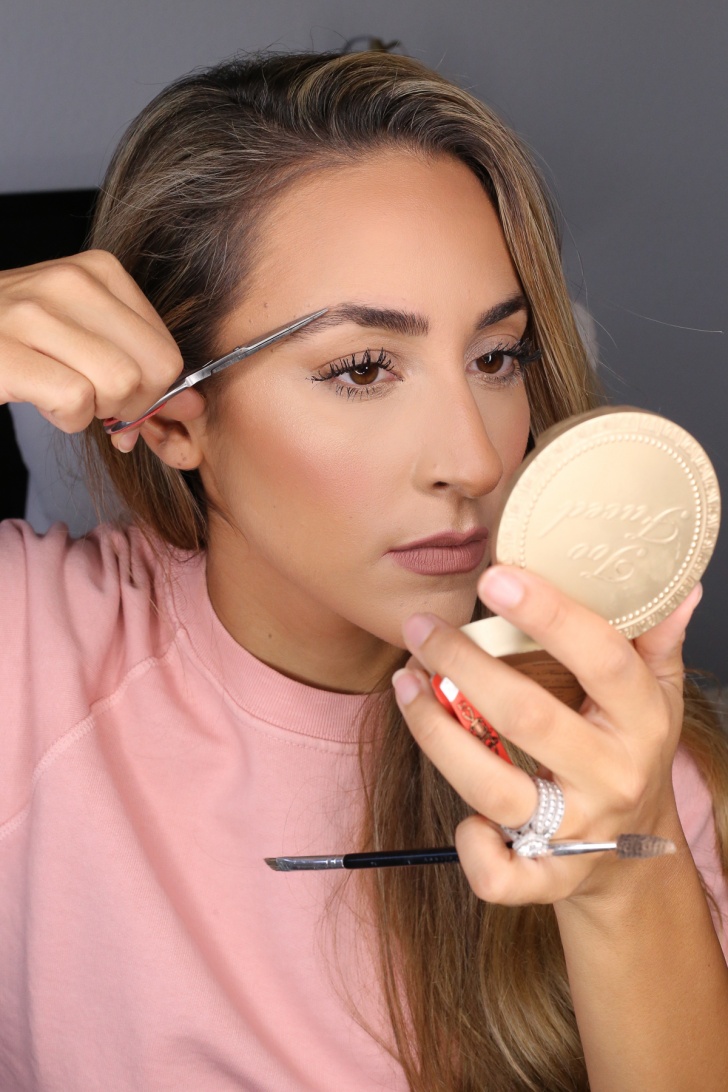
- Pluck the stragglers, but keep them fairly true to their natural shape. Less is more here! Don’t over pluck. A little #BYOBtip: pluck the stray hairs, then stand farther back from your mirror to see how it looks. Standing too close up can cause your brows to look bigger than they are and before you know it you’ve gone over board and you have a Christina Aguilera situation on your hands. Unfortunately, you can’t put that genie back in the bottle.
- Use the scissors to very carefully trim any hairs that are overly long. Again, be conservative with this! Start with barely trimming, access and see if you need more. Pay attention to the way that your brows lay when you brush them back down so that you don’t cut hairs too short that need to be longer (I’m speaking from experience here).
- Maintain them on an as needed basis.
5 / Pick your products
I use three products: A brow pencil, a powder and a clear brow gel to set them in place.
I have tried tons of products and these are my absolute favorites!
6 / Filling them in
We’re going to fill in any sparse areas and lightly clean things up. Again, I prefer to keep this as natural as possible! Think of this as the ‘your brows but better’ step.
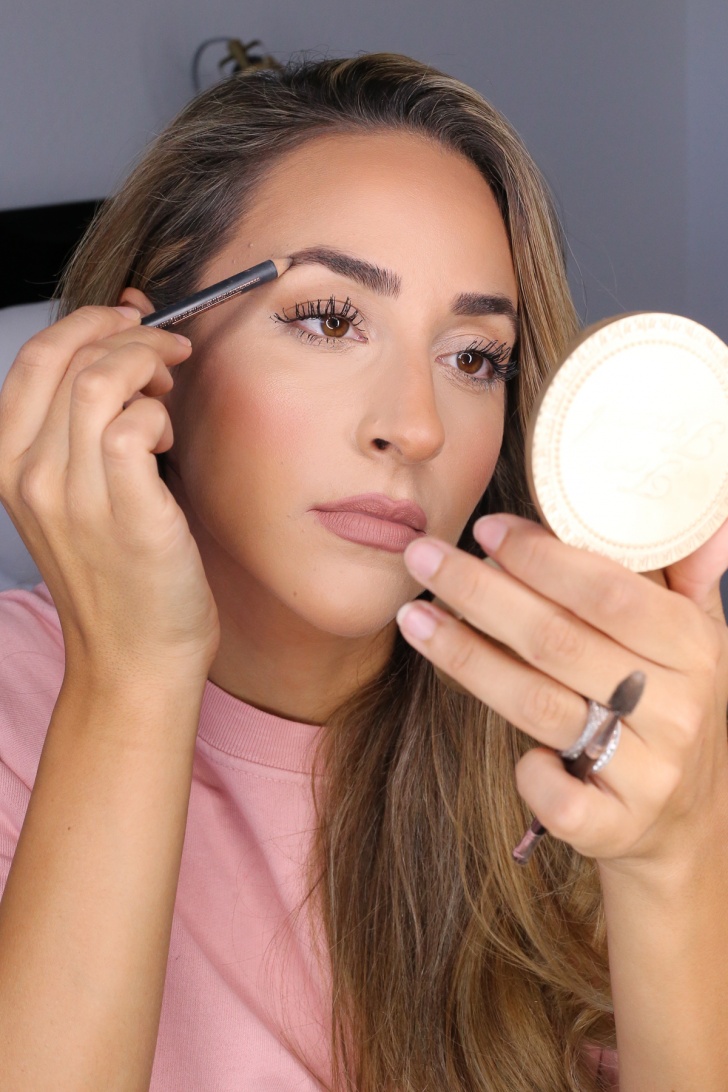
- Access your brows – Where do they need a little TLC? Mine are a bit sparse on the tail. I also like to add a little underneath the front, to clean them up a bit.
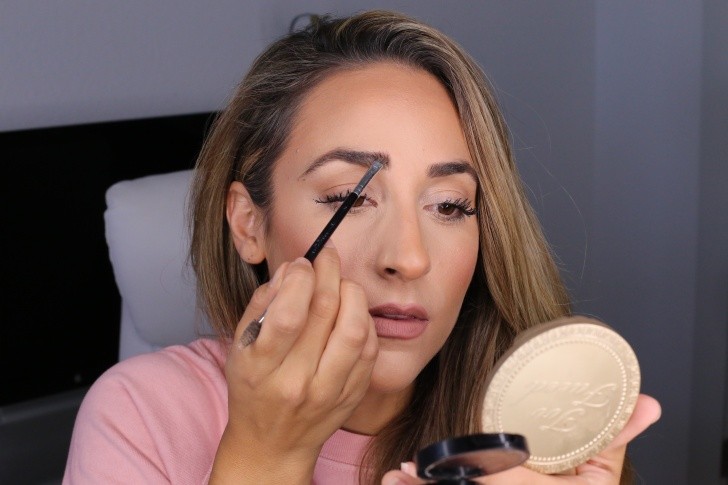
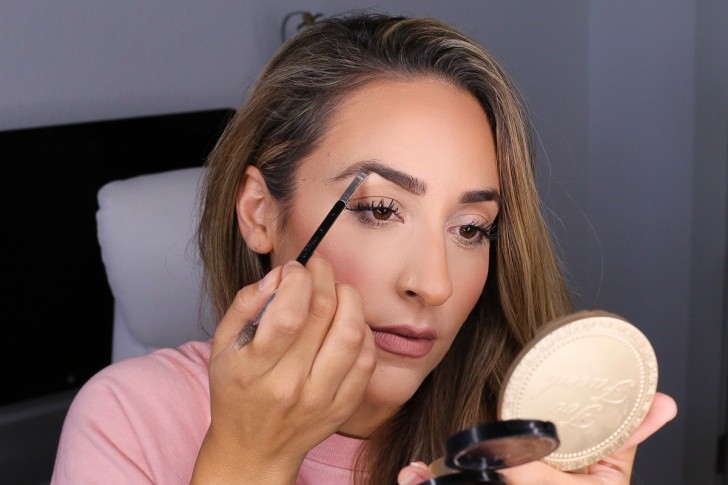
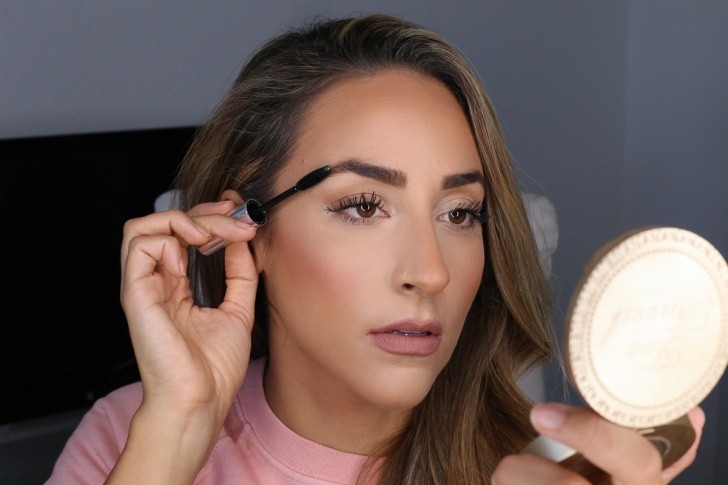
- Begin to fill them in. Use a light hand! I start with the pencil and very lightly make hair like motions in the arch and tail end of my brow. Rather than making harsh lines, I prefer to kind of create a shadow. I then turn the brow pencil around and use the spooly end to brush through them, making them even more natural. Then, I take the powder and this brush and draw a light line under the front of my brow and flick up. Once I’ve cleaned the bottom up a little bit, I brush through them again. Brushing through them really helps blend the product out and make it kind of just disappear in the brows giving me a more defined but still very natural result! Lastly, I set them in place with this clear brow gel.
Ok, beauties! That’s it for my Brow Bible. I hope this was helpful and that you learned a few things :). What are your go-to brow products or tricks?
featured image source