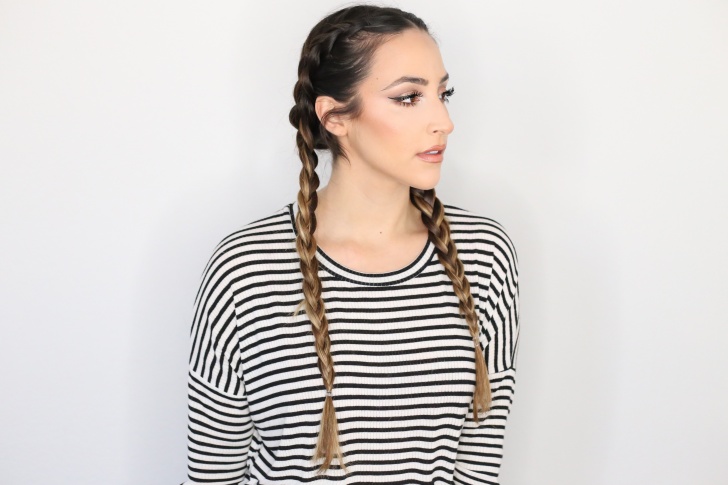
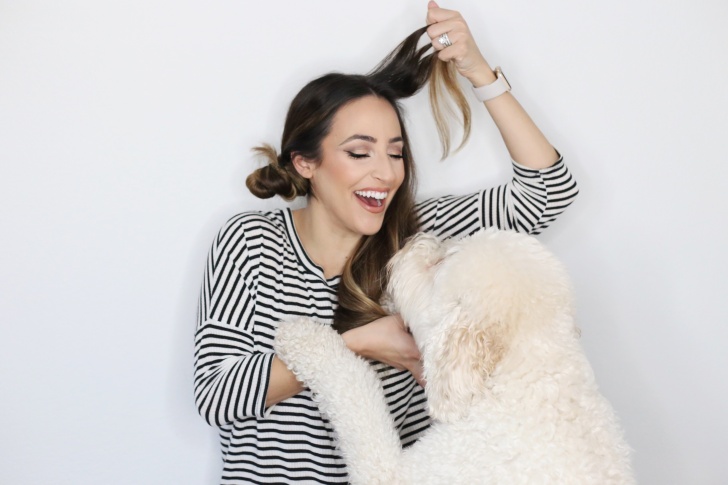
Lately, braids have been my secret weapon for second day hair! Anyone else do this little trick? I’ve always been a big fan of braids, ever since I was a kid. I love how they can totally change your vibe and add an element of texture and interest to any look. They can be sweet and feminine, messy and boho, or chic and badass. These definitely fall under the last category. I’ve been wearing this particular hairstyle like crazy lately – to the gym, running errands, out at night…you name it. I’m not gonna lie, these braids have me feeling some type of way! Every time I wear them I get a lot of questions about how I do them and if I have any tips, so today’s post is all about my new favorite hairstyle. Tutorial time!
Step 1: Start with second day hair. You can do this on freshly washed hair of course, I just prefer to do it on day two (or three) – the hair doesn’t slip as easily and why not get an extra day out of your wash? Brush through your hair really well! This will help speed up the process later and make sure you don’t get tangled up, pun intended ;).

Step 2: Part your hair in the middle (or however you prefer). Bring the comb all the way down to your neck to ensure that you get a really clean part!

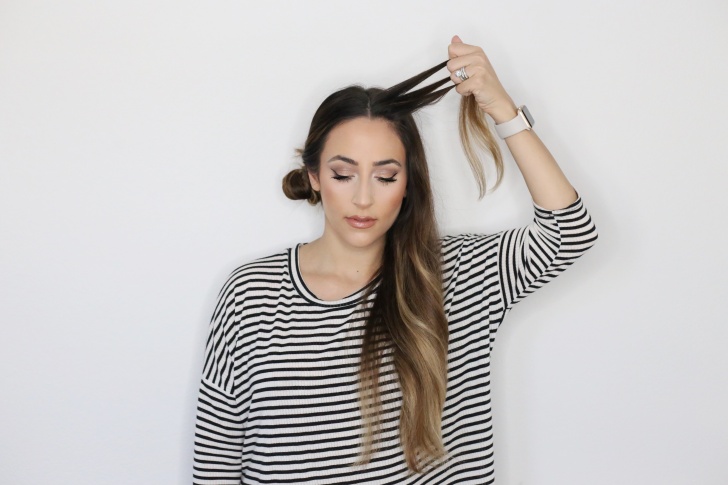
Step 3: Pull the right half of your hair up into a lovely (not so much) bun to section it off while we work on the left side!

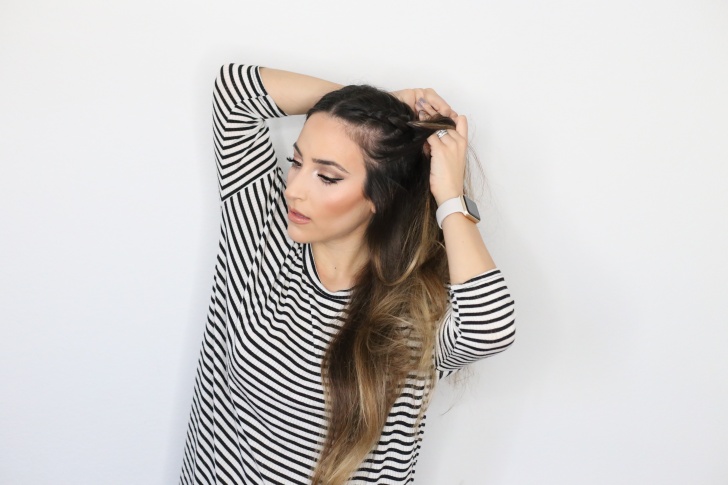
Step 4: Grab a bit of hair from the very front and then split it into 3 even sections.
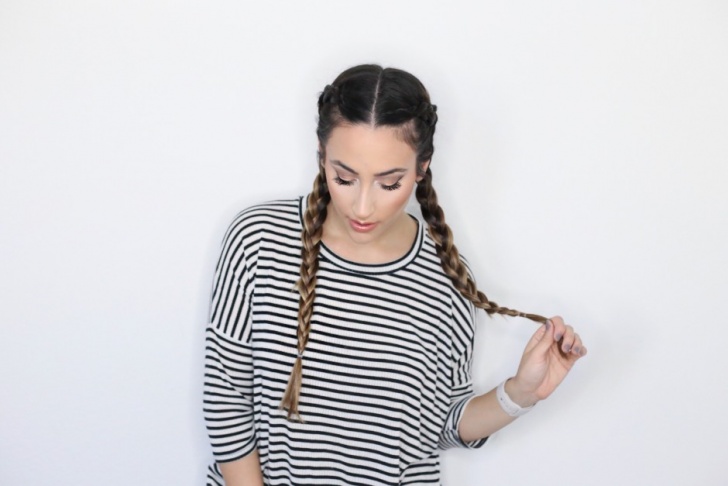
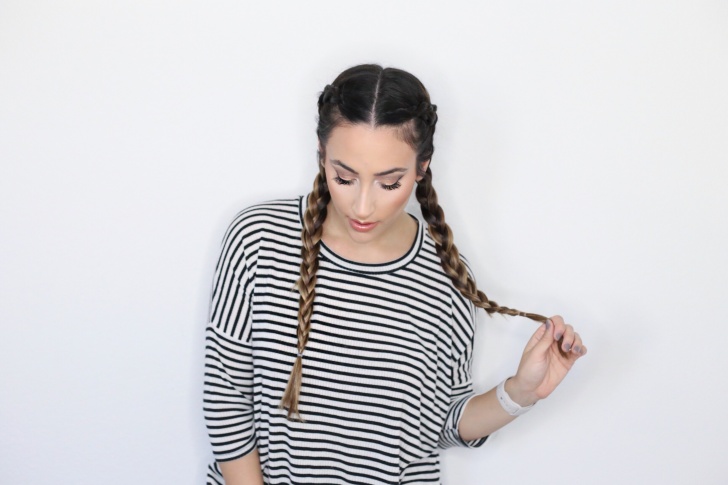
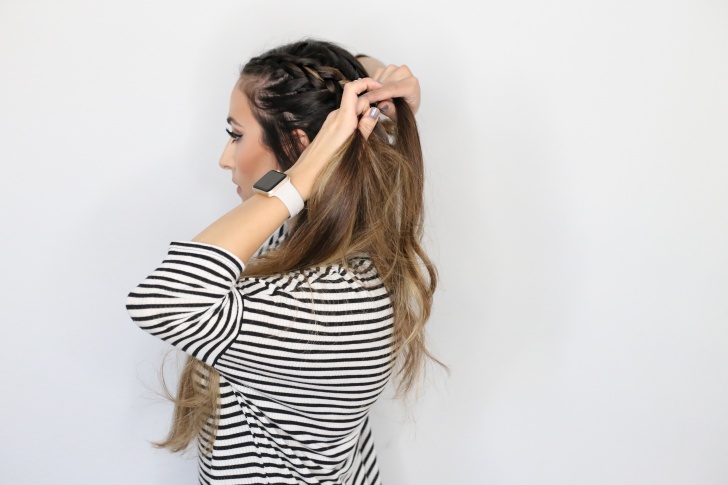
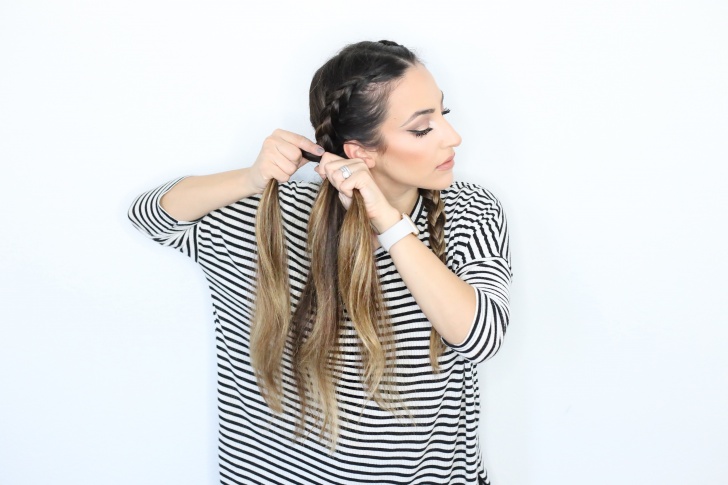
Step 5: Ok, so think of a dutch braid as an inside out french braid! — Start like you’re going to to do a traditional french braid but instead of adding hair and crossing over the strands, you’re going to take them and cross under. This creates a cool 3D look. Continue to braid all the way down. You can angle the braid closer to your face or farther away, just depending on preference! I like to think of one side of my hair as a section and then stay kind of in the middle of that, but it’s totally preference. You do you boo! Typically, I pull braids apart to make them bigger and messier, but for this I like to keep them nice and tight. Once you’re at the bottom, secure with a tiny clear elastic!
Step 6: Do the same thing on the left side. The only tricky part here is to make sure that the second side matches the first. A few things you can do to make sure they’re as similar as possible – Start with the same amount of hair in front and make sure you angle it as similar to the first side as possible! Again, for me, that’s towards the middle of the section.
Step 7: All done babes! Now you’re ready to conquer the world. After all, who the run the world? GIRLS. 😉