
I pride myself in being able to do a great at home mani. I’m not gonna lie, of course I love getting my nails done, but getting your nails done professionally every time you want a manicure is not only expensive but time consuming and let’s be honest….ain’t no body got time for that. Plus, I’m fickle. I like to change my nail color whenever I feel like it. So, being able to do my own nails is crucial. I go through phases of loving gel mani’s and then wanting to let my nails breathe. I’m in the nails breathing phase as of late. Here are a few steps and tips to help you get a professional looking mani in the comfort of your own home, while saving a little $$$.
STEP 1 : Clipping or filing your nails.
If your nails are extra long and you want to make them significantly shorter, than use a nail clipper and cut them down to the desired length. If your nails aren’t long and you just need to add a little shape, then go for the file and skip the clippers! I prefer the files that have one side that’s more rough and one that’s softer, so after you get the length right you can perfect the shape. Tip – File in one direction, not back and forth.

STEP 2 : Prepare the nails.
Start with bare nails. Personally, I don’t cut my cuticles at home, I like to leave that part to the pros! However, it is important to make sure that they are pushed back and groomed looking. Two of my favorite things to use to maintain my cuticles are Rose Bud Salve and Coconut Oil (whole post on the wonders of coconut oil very soon). Rub the salve or coconut oil around your cuticle area and gently push them back.

STEP 3 : The base coat
Apply one coat of base. This step is important to help ensure that your polish has something to stick to. I used O.P.I, but whatever you have will work.
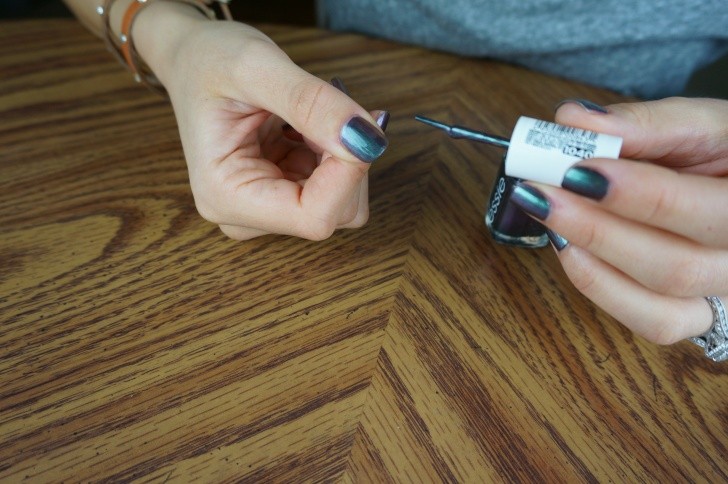
STEP 4 : Pick your color and apply.
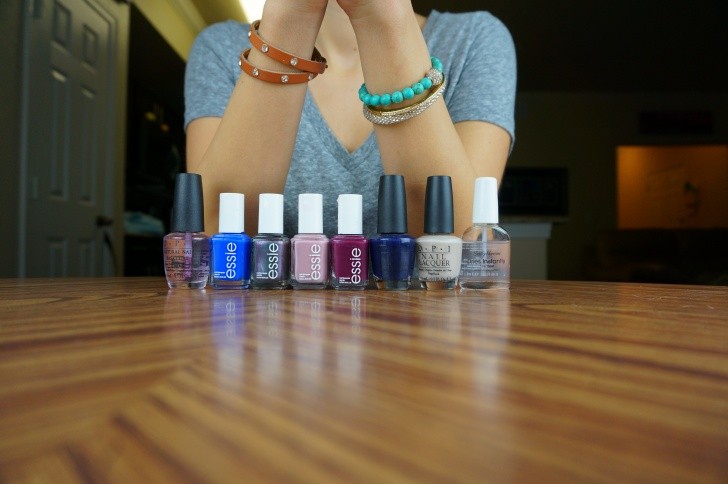
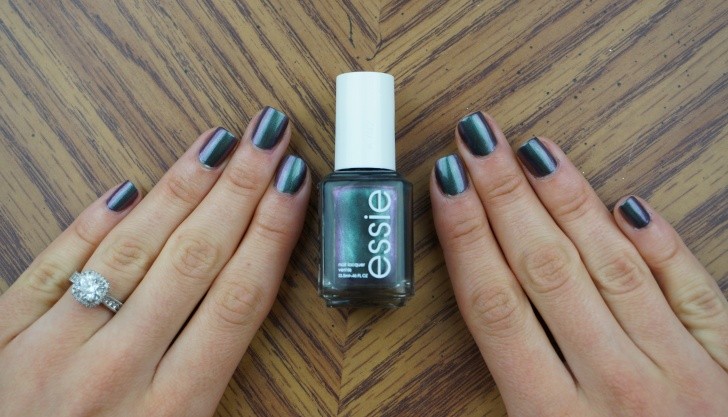
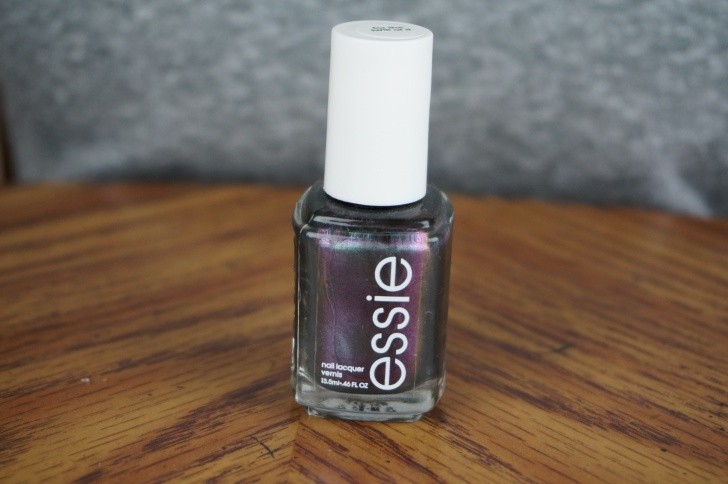
Pick your color and apply two coats. I went with this really cool Essie color, “for the twill of it”. It’s hard to explain, but the best way to describe it is an iredesent purplish green. I donna about you, but I’m feelin’ it for sure. Here come the tips…
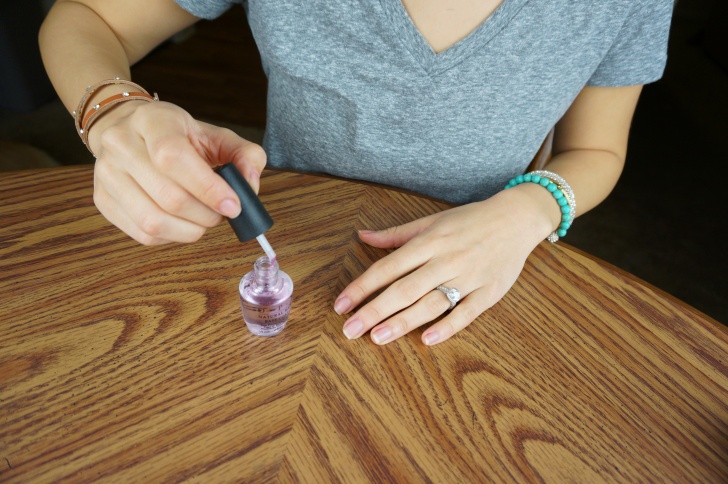
- Make sure that when you get the brush out to paint, you wipe one of the brush on the side, so it doesn’t drip or get too thick (see 2nd picture). Apply the first coat thin and evenly distributed.
- Get as close to the edges as possible with out painting your finger. I like to angle the brush a little farther in so that when I push down the paint goes out to the edge rather than on my skin.
- The first coat is all about getting some color on your nails, a guide line if you will, and the second coat perfects and fine tunes the edges. So don’t stress too much about making the first coat perfect, you have fix it with the second.
- When painting with the always feared non-dominate hand, leave the hand your painting with resting on a table or surface. This helps you stabilize your hand and have more control.

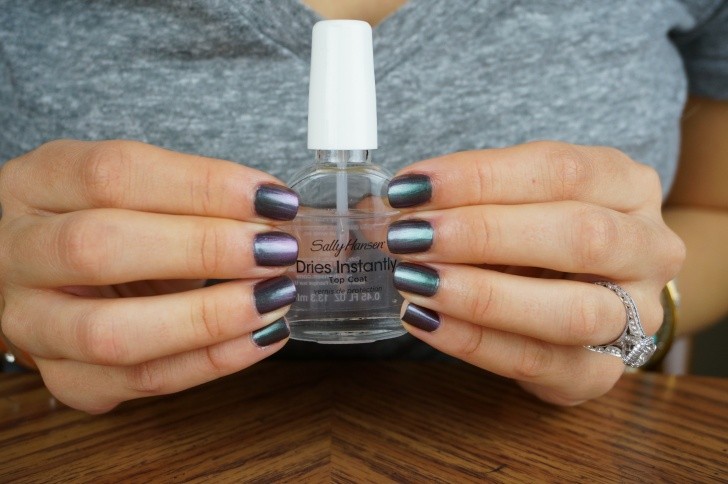
STEP 5 : Top coat.
Pick your top coat of choice and apply. Tip, after you paint your nail with the top coat, use the excess of what’s left on the brush and swipe it over the tip or your nail (see 2nd picture). This helps minimize chipping. I used Sally Hansen Dries Instantly top coat and I will say that this stuff really does dry quickly!

STEP 6 : Clean up.
If any part of your skin has nail polish on it, never fear – just dip a tiny paint brush or old makeup brush in some nail polish remover and clean up the edges.

Well, that’s it for now! Hope these steps and tips help you get the perfect at home mani. Do you have any tricks that work for you?
Have a great weekend! x