
Happy Friday! Let’s talk lips. With the right makeup/outfit, a matte lip can look fab, but when attempting this, I tend to run into two problems :
1. You have to buy a whole new lipstick, which I wouldn’t totally mind, but the selection of matte colors are far smaller than those with other finishes.
2. The formula is usually very drying on your lips, which is never a good thing, especially in the Winter!
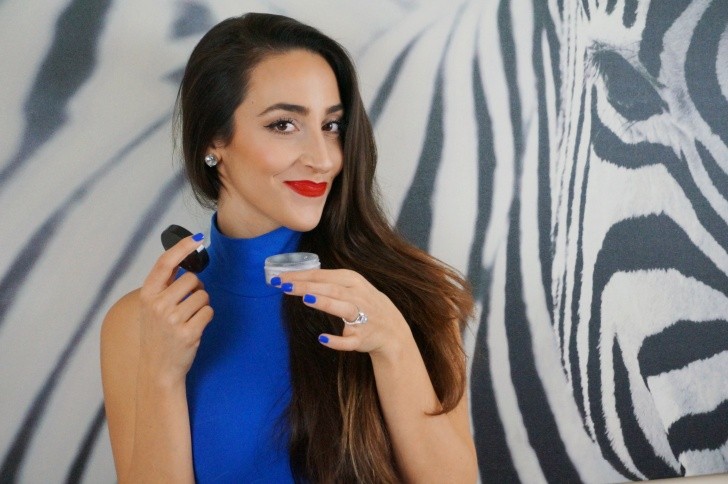
This DIY trick solves both of those problems while being budget friendly, win win! 🙂Any shade that you want to use will work perfectly. I chose red because I was feeling sassy today! All you need is your favorite lipstick and a translucent powder of some kind. Two that I have tried and can recommend are Mac Prep and Prime Translucent Powder and the Nars Light Reflecting Translucent Crystal Powder.
STEP 1 – Lip Liner . This step is optional but if you are going for a bright shade like me, its a must. When you line your lips, try shading inside the lines a little to give a more blended effect.
STEP 2- Put on your favorite lipstick.
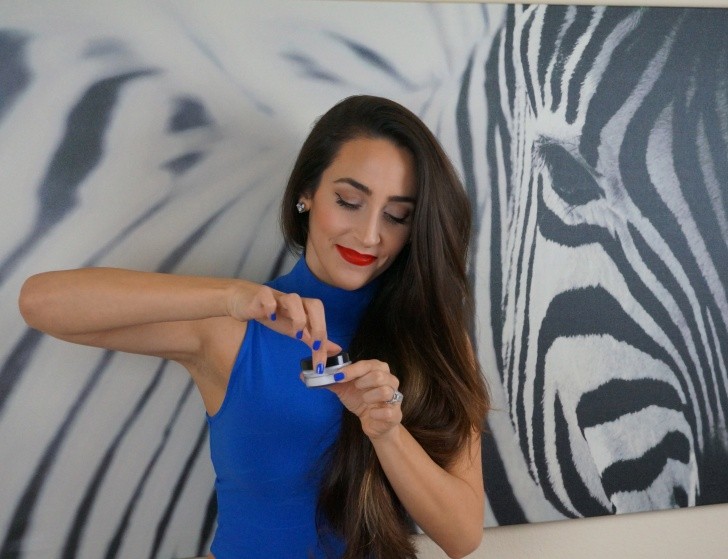
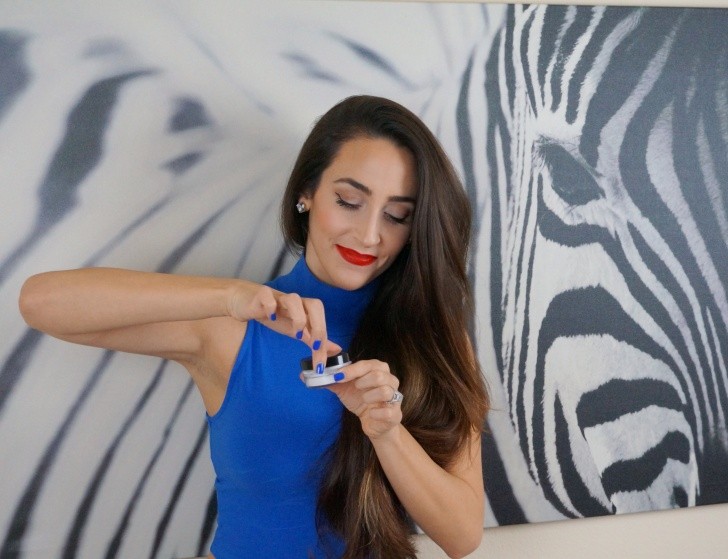
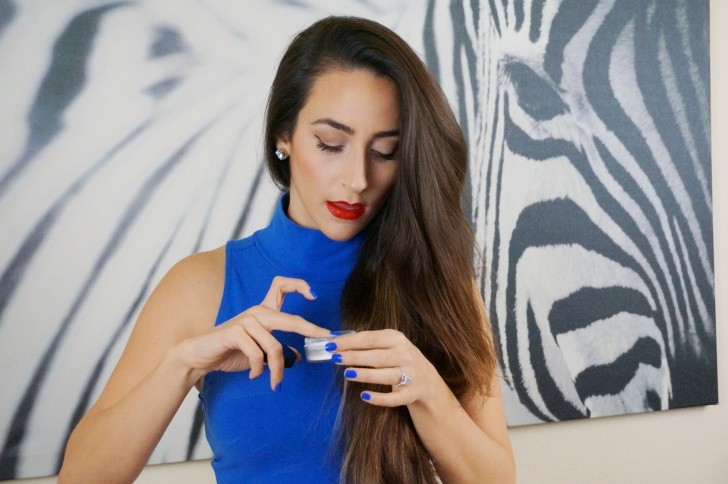
STEP 3- Grab your powder. Here comes to magic 🙂 Now, using your finger to dip into the powder, get a light dusting and apply it on top of your lipstick. You will see the instantly start the mattify! If you want them to be more matte, add more powder and if you want them to be slightly matte, add less! You get the idea.
Once you have successfully mattified your lipstick you will notice that even though the top is dry to the touch, your lips won’t get as dried out feeling underneath because the lipstick that you used wasn’t a matte formula! Gold, right? Love this trick. Try it out with any lipstick that you want and let me know what you think!
Enjoy lovelies 🙂
XO. Courtney