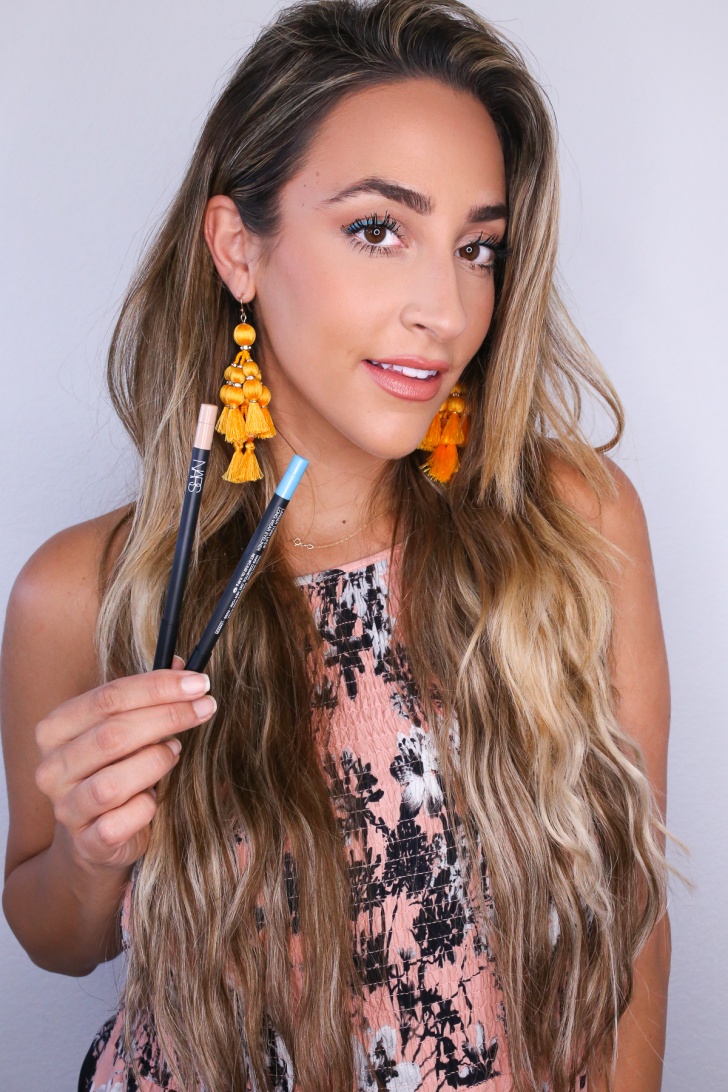
Every year as the temperatures rise and Spring arrives, I like to go for a fresher look. I gravitate towards brighter eyes and glowier skin. One of my favorite tricks for bright eyes is using a nude eyeliner in the waterline. This creates an illusion of bigger eyes! It’s so simple, yet really works wonders!
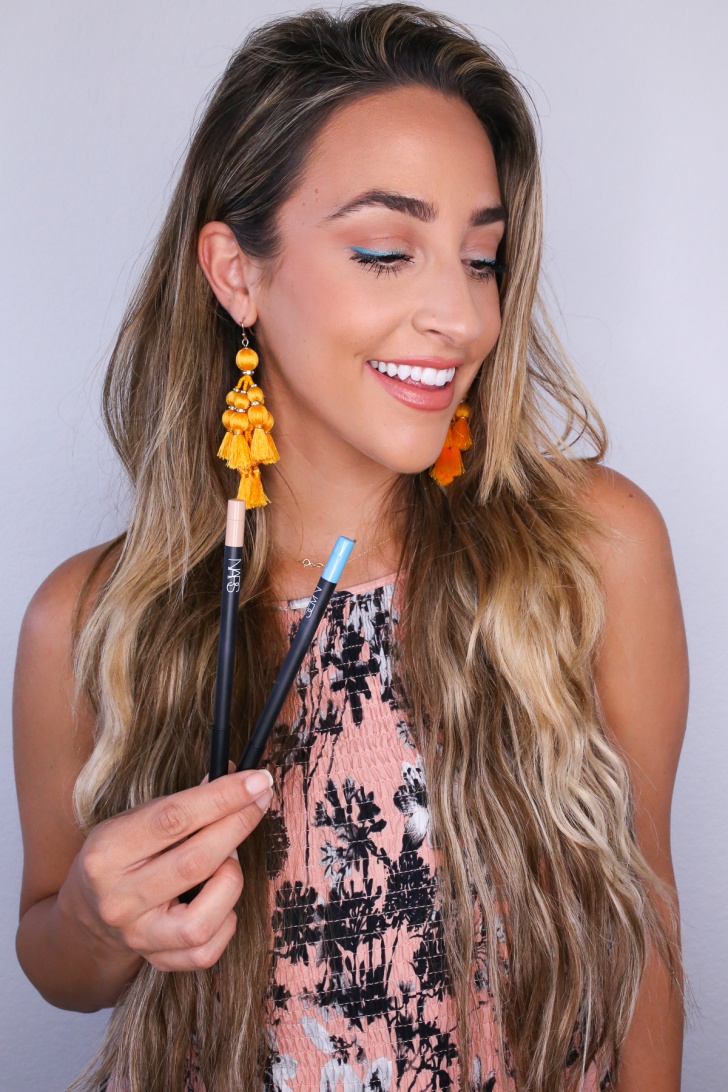
One of my favorite things about Nordstrom is the amazing customer service and free shipping – can I get an amen?! So, last week, I placed a big order online at Nordstrom (which, if I’m being honest, happens way too often, haha), to try a few new goodies and restock on favorites, like my holy grail of all nude eyeliners. I’ve tried multiple others and always go back to this one! It doesn’t smudge, smear, or irritate my eyes and it is super creamy. My mom wears contacts and she says that it doesn’t bother her eyes at all either! While I was restocking, I saw this fun bright teal, got so inspired and came up with this look that I’ve been wearing nonstop. It’s super easy, uses very few products, and it is perfect for creating those bigger and brighter eyes that I love for spring!
STEP 1 // BRONZER
Apply bronzer in the crease with a big fluffy brush! This just adds a little contour to the eyes. On most days, I skip eyeshadow all together and just stick to dusting a bronzer in my crease like this! I usually just use the same bronzer that I use on my face that day. This one by Hourglass is AHH-mazing!
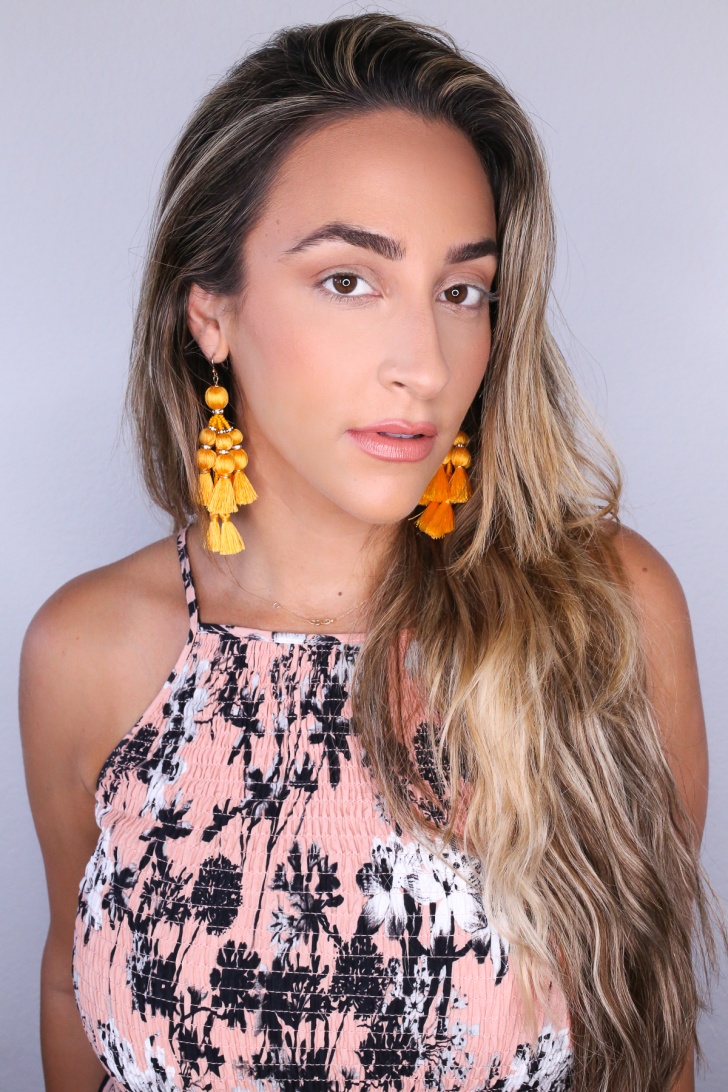
STEP 2 // NUDE EYELINER
This is one of my all-time favorite tricks! Apply a nude eyeliner in the waterline to give the appearance of bigger eyes. This trick also works well for a smokey eye. Some people like to do this with white, but I prefer nude because I think it looks more natural! If you want to take it one step further, apply the liner or a light shadow in the inner corner of your eyes. This will really help give that youthful, bright-eyed look!
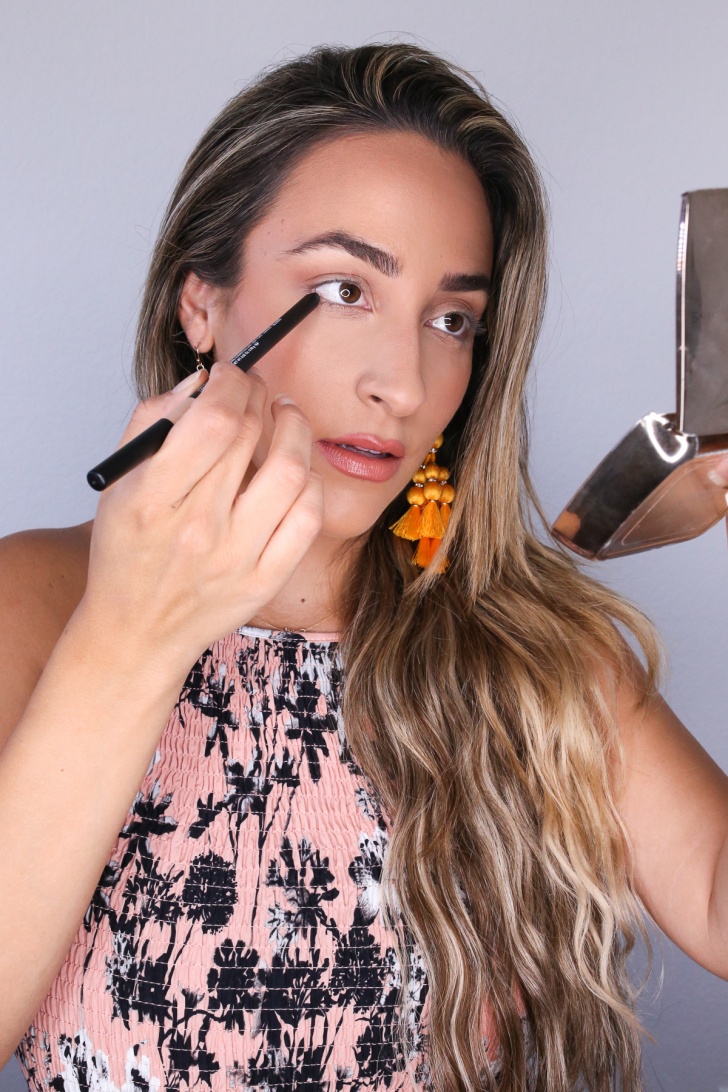
STEP 3 // CURL YOUR LASHES
Curling your lashes will totally help open up your eyes and give your lashes a little extra oomph in the process. Instead of clamping the curler down and holding it, try doing three small pulses instead! This one is my favorite and it’s a really pretty rose gold, which doesn’t hurt either :).
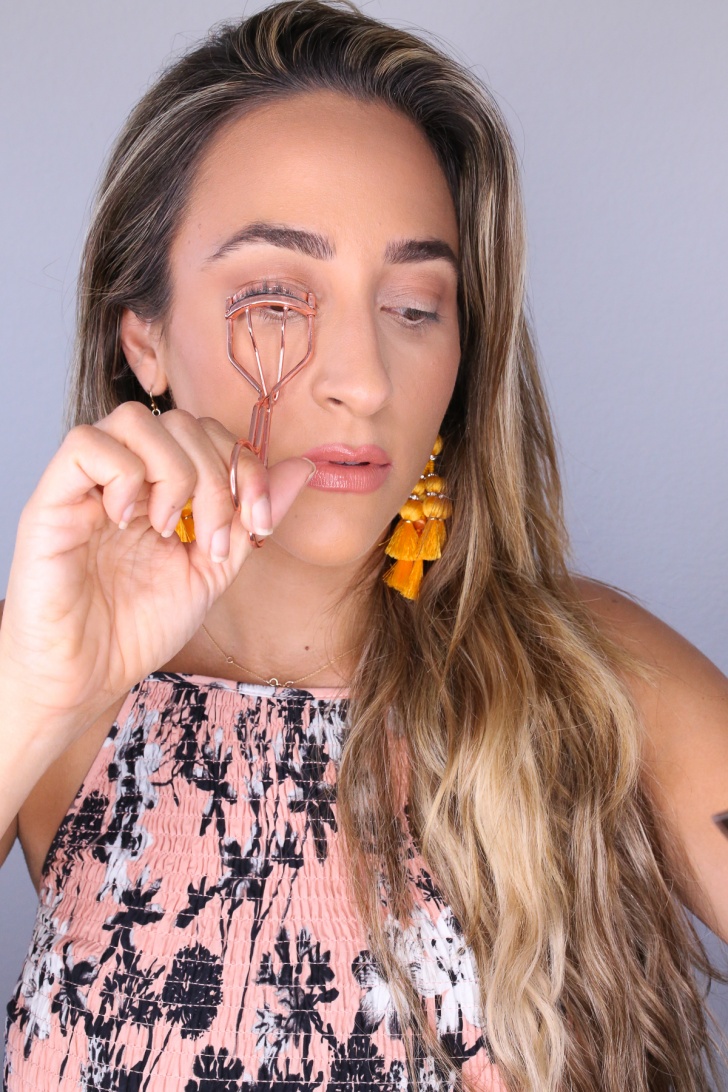
STEP 4 // COLORED EYELINER
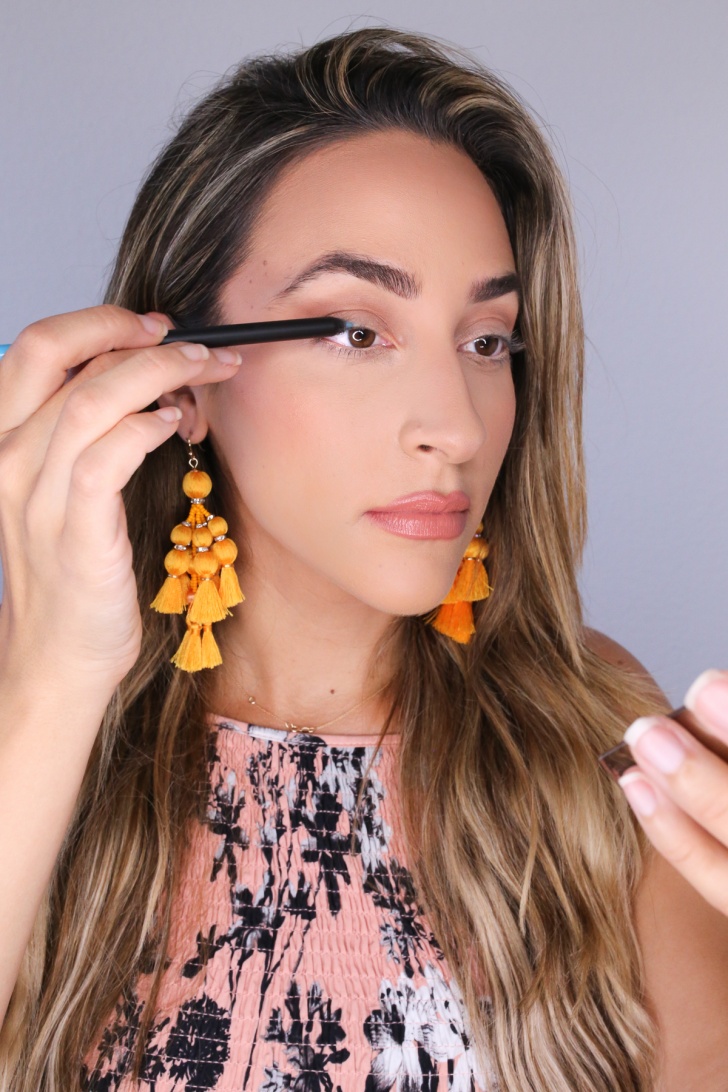
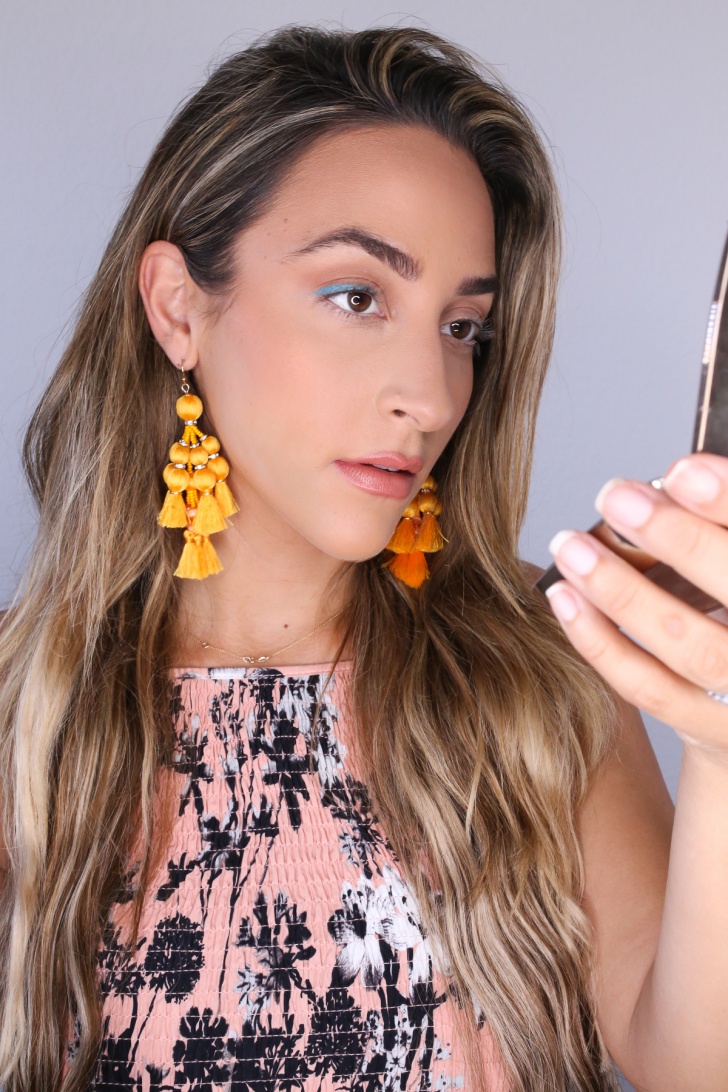
Pick a fun color eyeliner and apply it on the top lash line! My favorite right now is “Khao San Road“, this fun bright teal. This step is totally optional, but I love what it adds!
Tip: This bronzy/gold eyeliner shade “Via Appia” would be beautiful on my blue-eyed babes!
STEP 5 // MASCARA
The last thing that I do is apply mascara, Y’all know how much I love mascara! In my opinion, mascara makes all the difference in the world! Lately, I’ve been using some of my longtime favorites – I start with a lash primer. This one is the best! I’ve been using it since high school, it’s infused with vitamins and makes my lashes thicker and longer. Then, I use this mascara and this mascara on my top lashes, and finish off with this one on the bottom! This one is a new discovery for bottom lashes and I LOVE it. It doesn’t bleed down underneath my eyes and does a great job of separating each lash to give my lashes a nice, full look on the bottom! A total winner in my book.
I would love to see this look if you guys try it out! What are your favorite Spring looks?
Thank you to Nordstrom for partnering with me on this post. All opinions are course, my own!
