

I absolutely love the winged liner look. There’s just something glamorous and classic about it. It’s one of my all-time favorite looks. A fresh face with iconic winged black liner…to die for! Once you get the hang out of it, it’s pretty easy but at first it can definitely be a little intimidating. Don’t worry, I’m here to help! Here are a few steps that I use to achieve the perfect winged liner. Four easy steps with some tips along the way. Here we go…

What you’ll need –
- Gel liner – I am using Maybelline in the tutorial. If you interested, I talked about how great this liner is in my drug store favs post last week.
- Small angled liner brush – I love the Sigma one but any brand you have will work.
- Liquid liner – A few recommendations: Lorac, Elf, L’Oreal, and Maybelline.
- Makeup remover and q-tips – The Almay oil free gentle eye makeup remover works great for this.
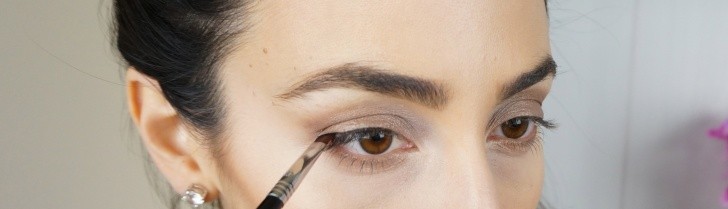
STEP 1 – Start by applying the gel liner as close to the lash line as you can. Personally, I never take my eyeliner all the way in the inside of my eye, I just don’t think it looks good on my eye shape but most people do bring it all the way in, so feel free to do so!
STEP 2 – Ok, time to wing it. We are going to switch and use the liquid liner now ~ TIP – Start at the very outside of your bottom lash line and draw an imaginary line up and out. This is a great guide for where the liner should go. Once you have mapped out where you want to draw, touch the tip of the liquid liner at the end of the first line you drew {with the gel} and then draw up and out. You can keep the wing small or make it longer, just depending on what look you are going for. I extended it pretty far so you could see :).


STEP 3 – Whew! The hard part is over. If you like the line thin, then you can be done! If you want to make the line thicker, it’s very easy to achieve. Start at the end of the tail and draw inward, connecting the new line to the middle of the first line you drew. It will almost look like a skinny sideways triangle. Then just fill it in!
STEP 4 – Trace over the gel liner with the liquid to intensify it and make it extra black.
TIP for damage control ~ Ok, here’s the trick! Have a q-tip and makeup remover handy when you’re learning. If you mess up {which will happen a lot at first, no worries!} dip the q-tip in the remover and just wipe off where you messed up. I like to use a twirling/twisting motion to ensure that I am removing the black and not sure smearing around on my skin.
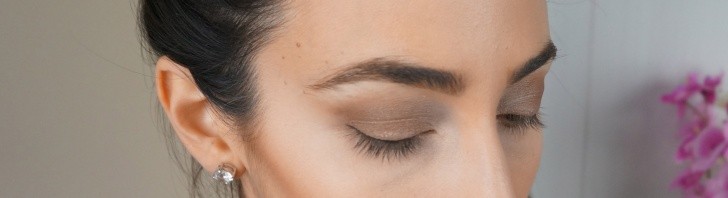
Finish this off with some mascara and you’re ready for any occasion!
Well, that’s it for now! Let me know if you have any questions – I am happy to answer them in the comments below. Do you love the look of winged liner as much as I do? What’s your favorite liner to use?